Canon HV30
This is the camera we used to capture all of our footage.
ADVANTAGES
|
DISADVANTAGES
|
·
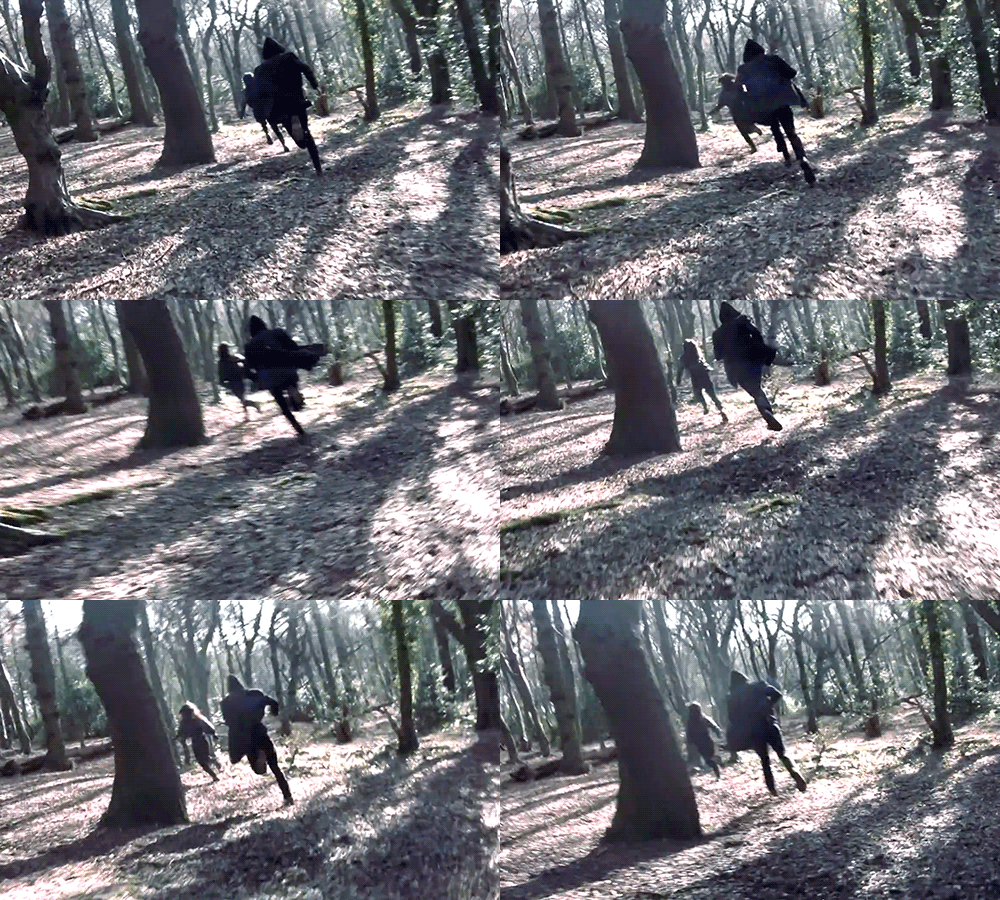
Lightweight – this allowed us to get many shots
which would have been almost impossible to capture with a larger, bulkier
camera since many of our shots involved us running through woodland, as shown below.
·
Sound – This camera had a relatively good
quality shotgun microphone attached to it. This allowed us to capture all of
our sound, as well as all the visuals on set.
·
HD – This meant we had high quality
footage, very important for an action film where everything is happening very
quickly and every detail must be picked up.
·
Digital – This meant we could keep the camera
running and take a lot of shots. Also the footage was transferred straight to
the computer where we could quickly edit it using various software.
|
·
Sound – Despite the use of the shotgun microphone,
not all of the audio was picked up so some of it had to be dubbed in
afterwards.
· Quality – Although the quality was good for still shots, during a lot of the chase shots where there was a lot of movement, especially movement of the camera during tracking shots the quality was drastically reduced. |
Tripod
We used the tripod for a number of shots in both, quite ordinary, and unconventional ways. We used it for to keep the camera still for a number of shots, allowing us to easily frame the shots and keep the camera stable and in position.
However, we also had some other uses of the tripod. As you can see below, in the left image, we used it to gain extra height when shooting over the shoulder, to be able to shoot from a higher angle. This allowed us to counteract the height difference between Leora and the Henchman. Also, shown in the right image, we used it as a counterbalance when filming tracking shots of the chase scene, giving us greater stability and making the camera less shaky.
SOFTWARE
We edited our video on Abobe Premiere Pro CS5, which we used in a number of different ways to achieve the final outcome.
We began by cutting our shots and putting them in order. The multi-track layers allowed us to see each shot clearly and separately and edit them exactly to the frame that we wanted. This was extremely useful in creating continuity through match on action.
After this was done and perfected, we gave our scene a professional look by grading it using the three way colour corrector, giving it the futuristic blue tint, previously mentioned. This is shown below.
The ability to grade our footage helped massively in creating a futuristic world and, subsequently, ensure our sequence appeared to be of the sci-fi genre. The 'wheels' were extremely to use as you could easily see exactly the colour you were creating as you went along. Also, the fact that there were three separate grading wheels for different tones meant that we could edit each individual tone to create the perfect colour.
After Effects CS5 also had an important role in the creation of our opening sequence.
One way in which we used it was to cut out Leora as she jumped from 2072 to 2014. We did this by cutting her out from the background so she disappeared in the air. We used the pen tool to cut her shape out of one scene. This is shown below:
This is how it looked once complete:
Shown below is the effect it allowed us to create in the sequence:
This was one of the more tedious parts of post production. Since we had to edit the cut out area for each individual frame we spent a huge amount of time on this stage of production.
Below you can see an annotated YouTube video with some further effects that we created with the use of After Effects. Please pause and hover over the text to read it more clearly.
We also used Facebook to communitate as a group, where we were able to create a group, allowing us to discuss what needed to be done and update each other with and new problems, ideas and development in the planning and progress of the project.


No comments:
Post a Comment